This is a review of 12 volt Bosch power tools


This will be a review of 12 volt Bosch power tools. Specifically, I will give a review of the Drill Driver and the Pocket Driver. I purchased both around the middle of 2010, so I have a lot of hours on them. For those who do not wish to read reviews, but just want the ‘Thumbs-up’ or ‘Thumbs-down’, your are in luck. It is most definitely a ‘Thumbs-up’ for both tools. Now, for the rest of you, here are the particulars.Bosch 12 volt Drill

The Bosch (PS-31-2A) is a 12 volt, 3/8″ Drill Driver. It weighs right at 2 lbs and has 265in-lbs of torque. The motor has two speed ranges (0-350 & 0-1300) which can be set with a very nice switch on the top.  The speed is controlled by a variable speed trigger. There is an LED light at the top-front of the handle which lights up your work area nicely. It has 20 torque settings plus the drill setting. This drill is very light-weight and well balanced. It is very comfortable in my hand.Bosch 12 volt DrillDriver

The Bosch (PS21-2A) is a 12 volt, 1/4″ chuck, Pocket Driver. While it has all of the same power and speed of the drill, it is only 5.6″ front to rear, so it can get into the tight spots.

Personal note: I have been known to stick this in my back pocket rather than lay it down. Also, I was a little surprised that the power/speed specs were identical, because my experience has been that they do not seem to be the same. While the drill has never given me a problem putting a hole into anything I demanded, the Pocket Driver has always seemed to be faster and more powerful when driving in screws. I do not have the equipment to test the torque of these two tools, but I question the specs of the Pocket Driver as being down at the same level as the Drill Driver.

While I have not taken time to actually time a charge, my guess is that it usually takes about 15-20 minutes. Regardless of the amount of time, the charging battery is ready long before I can run down the one just plugged into the tool.

These two Bosch tools have never let me down, and if you are in need of a small, powerful, quality tool, I strongly recommend both of these tools.

For power tools, I always recommend corded tools to be your primary source of assistance. A cordless tool is nice and convenient, but a corded tool will always give you full power from start to finish. Before you purchase any tool, there are a number of things to take into consideration… and I will talk about those the next time at Toolboxzone.com. Thank you for taking time to read my blog.

What is an Average Entry Door Width?


“What is an Average Entry Door Width?” is a very good question. But let’s look at all the doors in a house. The first thing you need to do is identify what type of door you need.

Entry Door

These are the doors that are at the main entry point of the house. They are usually facing the front street, but not always. Entry doors are always solid-core, meaning no hollow areas between the inside and outside skins. The skins can be wood, metal, or fiberglass. Many homes are now installing double doors. That gives you 5′ – 6′ opening if both doors are functional. This is very helpful when moving large items (furniture, appliances, etc) in or out of the house. These doors will rarely be a flat slab. The most ‘plain’ front door you should ever see is a four panel door. There are six-panel and eight-panel doors, as well as doors with glass (windows) in them. The designs can get very ornate, and expensive. You can also get a door with a panel of glass on one or both sides of the door frame.

Front Entry Door
         Front Entry Door

The most common width of an entry door is 36″, however they can be ordered wider. Double doors, where both are functional, are sometimes 30″ each.You do NOT want a single entry door narrower than 36″ (or double 30″), even if the code, in your area, allows it.

Other entry doors include the door from the garage/carport/driveway into the house (usually the kitchen or laundry room), and the door from the backyard. If you have a garage, I would include the door from the yard into the garage in this section. These doors should also be solid-core doors, 36″,  and are normally less ornate. In fact, they are usually plain, solid slabs. Some people will say that the door leading into the garage should have a window. I disagree. It is a security risk that is not necessary to take. Also, a lot of people like to have French doors at the back of their homes. They are, indeed, beautiful, but they are also a security risk, just as a windowed garage-exit door. You must weigh the risk and make your own decision.

Interior Door

Interior doors are bedroom, bathroom, closet, laundry room, and pantry.

Interior 'Swing' Door
        Interior ‘Swing’ Door  
Pocket Door
              Pocket Door
Open Pocket Door
            Open Pocket Door

Bedroom and Bathroom doors will vary from 28″ wide to 36″ wide, depending on space and floor design. Swing doors are the most common type used throughout the home. They are easy and cheap to install. In most cases, they do the job just fine. However, when working in ‘new construction’, I recommend Pocket doors whenever possible. They slide into the wall and give complete access to the opening. This can come in handy if there is someone who has a handicap that requires a wheelchair or walker.The larger opening also makes it easier to move furniture throughout the house and without the possibility of damaging the door.

Closet/Pantry Door

The width of these is usually determined by space and convenience.

Pantry 1 Pantry 3The above pantry had 36″ of open space, so the doors were made 18″ each so they do not block traffic. Pull-out drawers and carousels made for efficient use of the available space.

 Next time, we will explore wall anchors.

Changing the Locks on My Doors

How do I go about changing the locks on my doors?

A brief intro to the terminology I will be using.

Inside/outside – I will be referring to ‘inside’ the room/house, and ‘outside’ the room/house.

Door Locks:

Latch bolt – The bolt that is controlled by the knob/lever. It is angled on one side to allow the door to

be closed without turning the knob/lever.


Handleset – This is the two part lock set usually found on the main entryway of a home. It consists of a deadbolt and a long handle with a thumb-latch. The deadbolt will have a decorative ‘shield’ on the outside. There are some handlesets that have a one-piece shield that goes from the top of the deadbolt to the bottom of the handle.

Entry set – This set consists of a deadbolt and knob/lever. The deadbolt normally would be plain (round, with no shield). But unlike the handle in the handleset, this knob/lever would normally be a ‘keyed-lock’ type.

Bedroom/Bathroom – These knobs/levers will lock, but can be opened from the outside with a small tool that is provided with the lock. These locks are meant to allow for privacy, but with an easy access if there is an emergency.

Hallway/Closet/Pantry – These knobs/levers have NO locking mechanisms whatsoever.

Deadbolt Locks:

A deadbolt must be unlocked in order to open or close the door.

THE SINGLE DEADBOLT:

The single-deadbolt is the most common. It has the keyhole on the outside and a turn knob on the inside. It makes for easy exit and locking from the inside, as you do not need a key if you are inside.

The drawback is two-fold.

First, if someone gains entrance through a window, they can now remove large items (TV) by unlocking the door. Second, if there is a window in the door or right next to it, a someone can break the window, reach in and unlock the door.

THE DOUBLE-DEADBOLT:

The double-deadbolt requires a key to lock/unlock from either side of the door.

This type is often used when a window is near/in the door. It is, overall, a more secure lock, but has its drawbacks as well. First, you need the key to lock/unlock even from the inside. If you leave a key in the lock, to be convenient, it will negate the very reason in spending the extra money to buy it. Secondly, the double deadbolt can be a danger to you. If you are awakened in the wee hours by a fire/intruder/etc, you will need to be alert enough to remember your key before you run to the door to escape. Fire marshalls frown on the use of double deadbolts, as they often find victims of smoke inhalation, just inside a locked door that has a double deadbolt on it. Either the smoke wouldn’t allow the victims to go back and find the key, or the key was too close to the fire.

The choice is yours. You know best what your needs and abilities are.

Before you start, be sure you have all the tools you will need. Most packages will give you a list that is specific to their brand/style, but this should help:

(1) medium phillips screwdriver

(1) small slotted screwdriver

(1) medium slotted screwdriver

(1) set of S.A.E Allen wrenches

(1) set of metric Allen wrenches

Since I am going to be only talking about replacing an existing lock, we should not need any other tools.

At a later date, I will discuss installing a new lock without benefit of an existing hole.

I want to take a moment to let you know about my preference in locks. I absolutely love the Kwikset Smartkey series. They are incredibly secure, consumer re-key-able, and very competitively priced. If we take off for a week, we can re-key (in 10 seconds) one of our doors, to a relatives’ key (they must have a Kwikset-type of key). They can go in and feed our wild animals. When we return home, we can re-key the lock back to our key (again, in just 10 seconds).

Now To the Work

There is only a slight difference between changing a front-entry handleset and the other entry doors in your house.
There is also a slight difference between those other entry door lock sets, and all the interior door hardware.

Let’s install the deadbolt first. I will assume there is a deadbolt currently occupying the space you need, so let’s get it out of the way. There are two stove-bolts on the inside part of the deadbolt. If you cannot see them, they are covered by a plate. If there is a smooth plate, it should either unscrew, or (more likely) pop off using a thin, slotted screwdriver. On some brands, there might be a set screw on the post of the ‘turn-knob’ for the deadbolt (if this is a ‘double-deadbolt’, there will be no knob on the inside, just the two bolts). Find the allen wrench that fits and loosen/remove the screw holding the turn handle.

Now unscrew both stove bolts completely. Both sides (inside and outside) of the deadbolt should come out. Watch your toes, as one side (or both) will sometimes fall out easily.

Now, look at the edge of the door where the latch bolt protrudes. There will be two wood screws holding it in place. Remove the screws and slide the latch bolt out.

Immediately slide the new one in and screw it into place. Do not tighten the screws yet.

Now you are ready to install the body of the deadbolt. Make sure you put the inside piece on the inside of the door, and vise versa. Even with a double deadbolt, there is a difference between the inside and outside. The inside piece is the one with the screws. That way, a burglar cannot remove your lock. Fit the two lock pieces together and tighten the screws. Now, tighten the screws on the latch bolt. Done.

For knob/lever/handleset installation, let’s start with the front entry door.

Most homeowners like to put a handleset <see picture for example> on their front door.

Now you are ready to install a handleset.

Take a deep breath. This is going to be easy.

You already know how to replace the deadbolt. The holes in the door are the same as all other knobs/levers/deadbolts, BUT the very bottom of the handleset has a screw to hold the handle in place when being pulled on to open the door.

If you are replacing an existing handleset, you need to measure from dead-center of the hole for the latch (ignore the deadbolt for now), down to dead-center of the bottom screw on the handle. This will usually be anywhere from 8 ½” to about 11”. You may want to find a handleset that matches your current set, or patch the old screw hole and install anything you want. The advantage you have from just a few years ago, is that lock makers are starting to make ‘adjustable’ locks. That means they will adjust to fit “most” measurements.

The knob/lever/handleset goes on relatively the same as a deadbolt, with one important exception. The latch bolt has an angled side, and therefore the angle must face the door jam, when the door is open. When the latch bolt hits the strike plate, it will retreat into the door until it lines up with the opening in the strike plate.

Sometimes, with a lever set, the handles are facing the wrong way. This is easy to change over. Just read the instructions that come with your lock. Each manufacturer has a different method of changing a lever from right-hand, to left-hand, but all of them are quite simple.

My next post:

What is an average door width?

I Just Bought a House. Is it Safe (Part Two)?

I Just Bought a House. Is it Safe? (Part Two)


This is also for those you who are planning ahead.

If you are still in the ‘looking’ stage, and wanting to know what you are going to need after you find your ‘dream’ house, keep reading.

Usually, the first things new owners do is unpack and get ready for a house-warming party.

While these are important things to get done, they should fall a little farther down the list of importance.

First, you need to make sure that you, your family, pets, guests, and belongings are going to be safe and secure. That is what we are going to cover in this two-part series.

There are different kinds of safety that should be addressed before you spend your first night in your new home. This post will deal with the second type of safety.

A clean house is a healthy house. A healthy house is a safe house. Soooo…

The Second Kind of ‘Safety’ is to


Make My House Healthy.


After you’ve bought a house,these are the Top Six areas to hit first.

The Bathroom

The toilet seats should be replaced immediately. ‘My’ policy is to replace them even if it is a brand new house. At the very least, I KNOW some of the workers have used them. While I am certainly not in the majority about going this far, but I have found no one who argues against changing them on an existing home.

If there is a shower curtain, it should be replaced, regardless of how ‘clean/new’ it looks.

If the bathroom has an enclosure, a thorough scrubbing would be in order. While you have the cleanser out, the tub, sink, faucets/ mirror, and medicine cabinet (inside and out) should be given the ‘once-over’.

It would be a good idea to clean all tiles (walls and/or floor) that is showing. A solution of bleach and water can be used in lieu of a manufactured product, if you want.
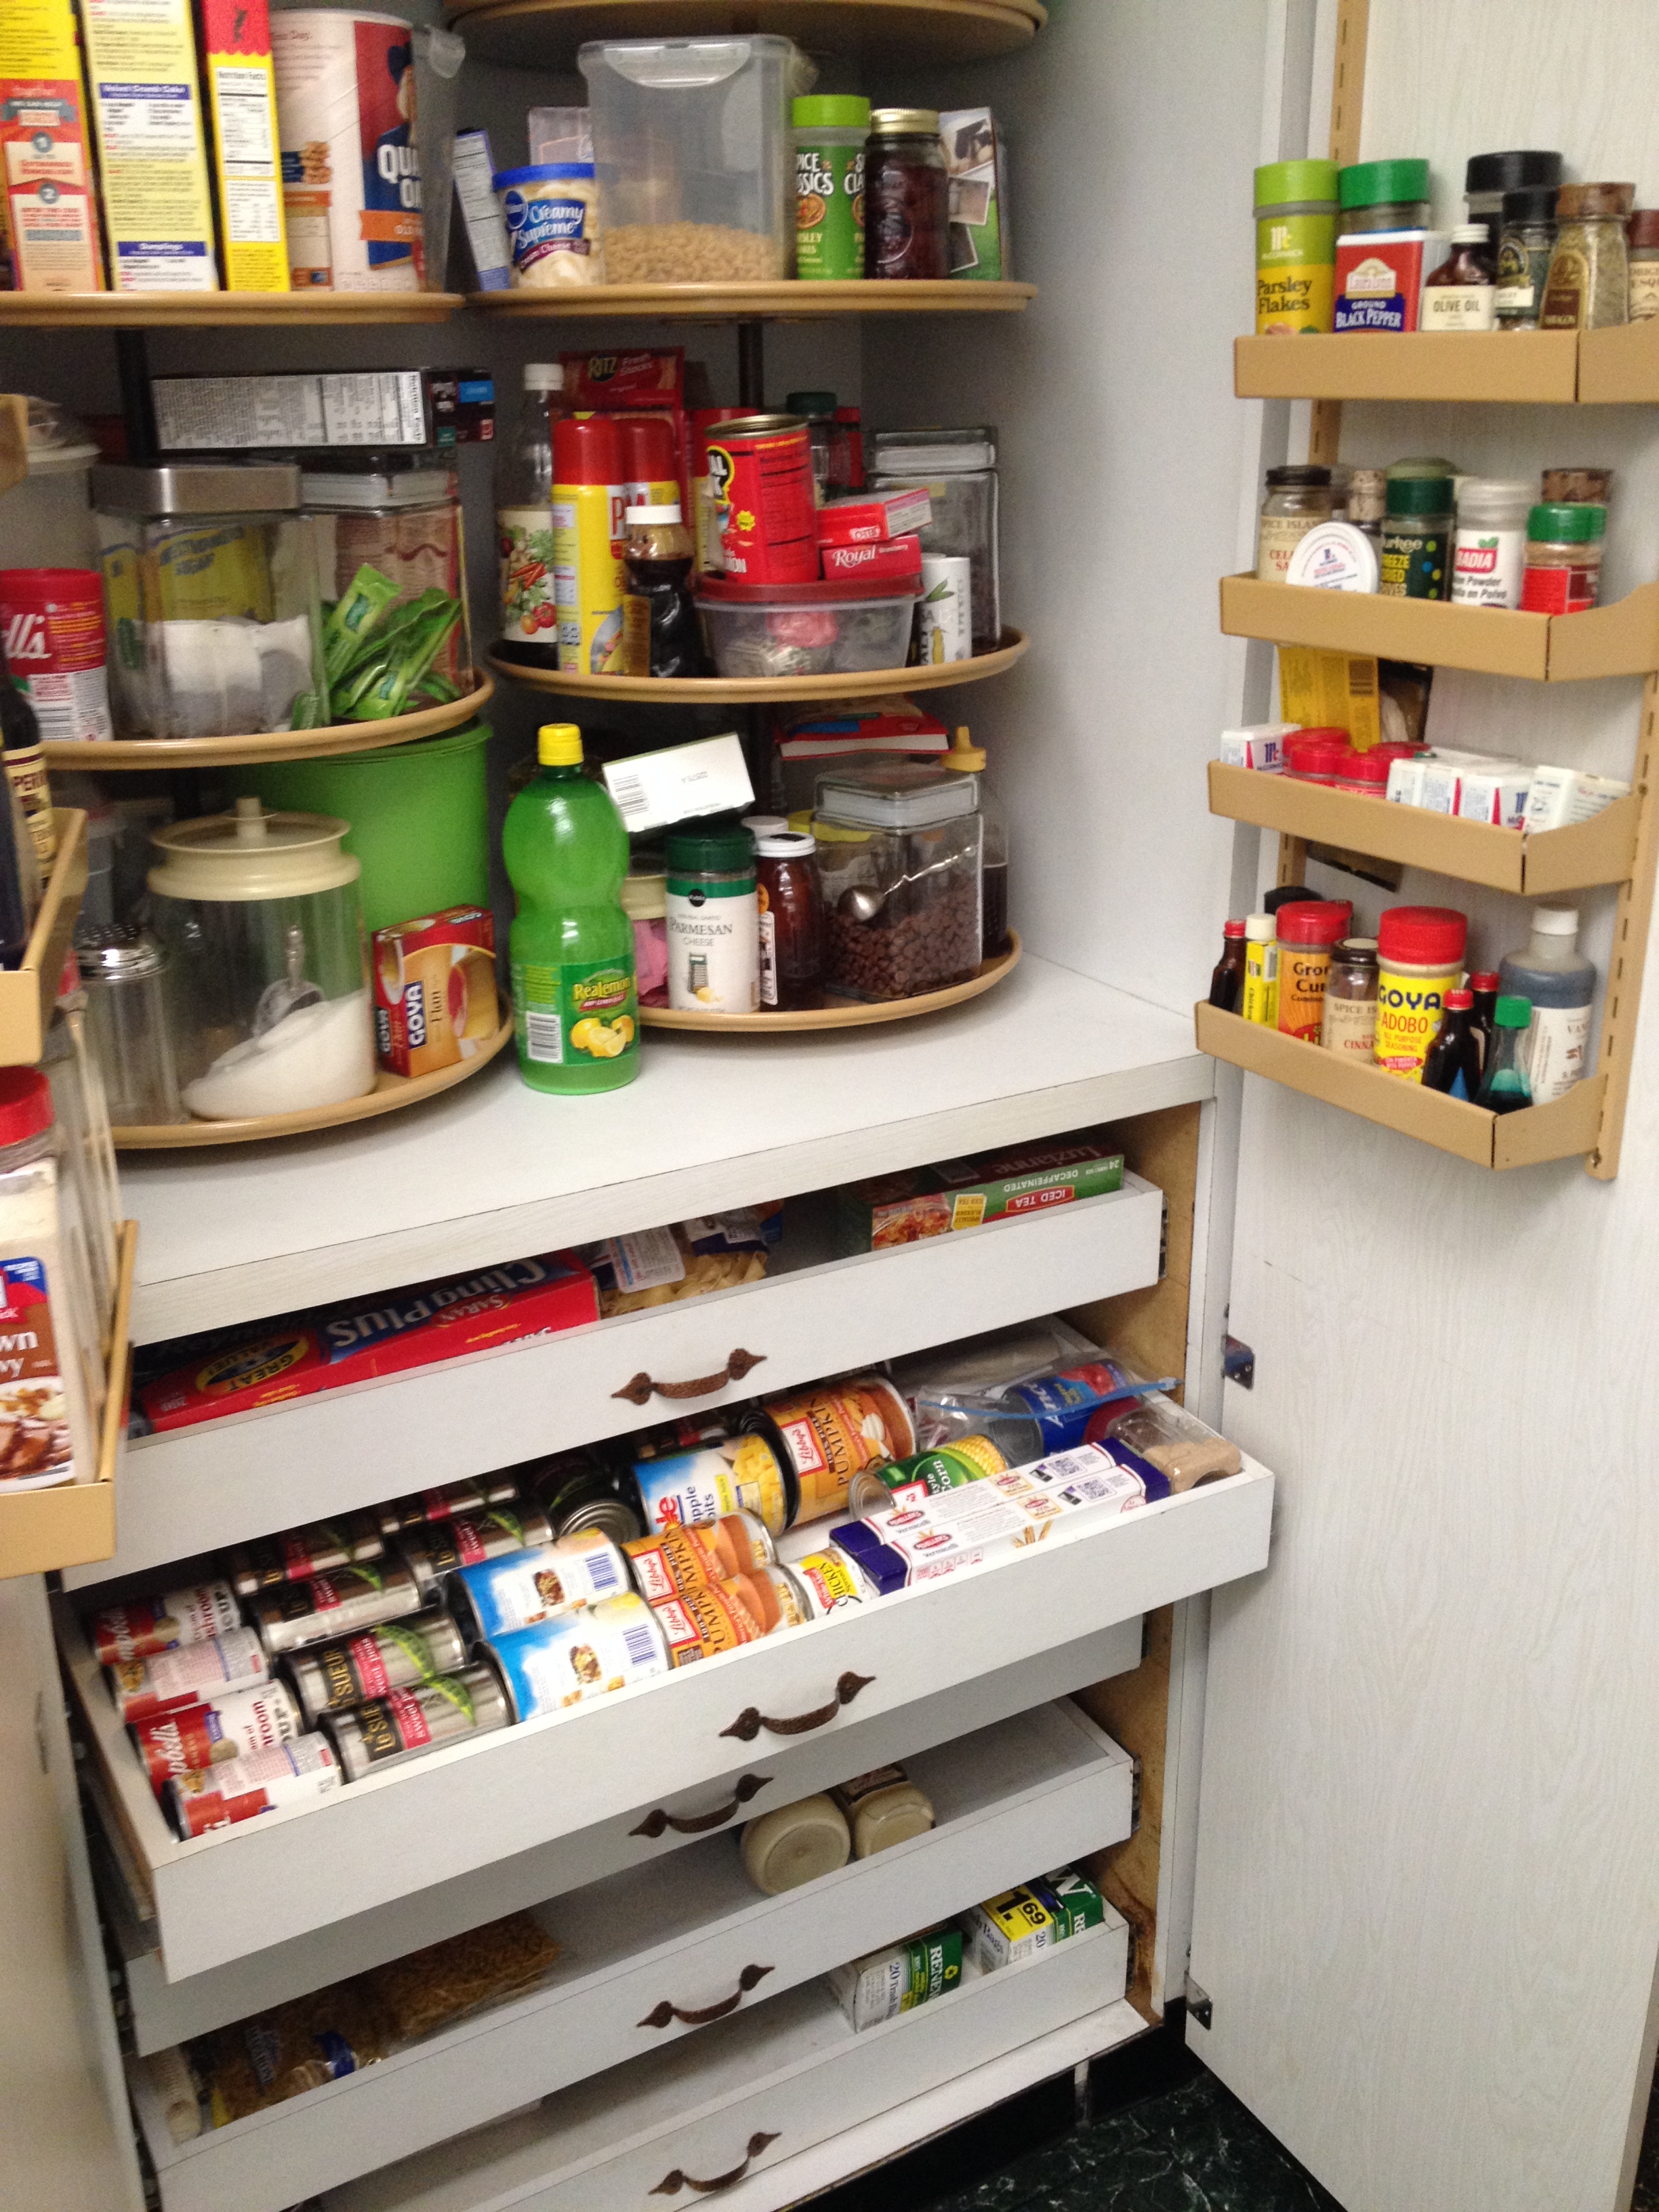

The Kitchen

The sinks, faucets, and counter tops need to be sanitized. Be sure to use an antibacterial cleaner. It is more important to BE clean, than LOOK clean.

The refrigerator (if in an existing home) should be thoroughly scrubbed with a disinfecting cleaner. Change any and all water filters (whole house/kitchen/refrigerator/etc). If it is a brand new home, the refrigerator can be wiped out with damp cloth dipped in a solution of Dawn (or other such mild degreaser/disinfectant).

The same treatment goes for the stove/oven. If it has a ‘self-cleaning’ function, then it would be a good idea to test it. You will find out if works, how it works, and clean the oven at the same time.

The wall(s) next to the stove burners could use a once-over.


The Heating/Cooling unit

Whether it a brand new home or ‘pre-owned’, you really need to change the filter(s). A brand new home could have fumes and dust from the last days of construction. There is no telling what a pre-owned home has run through the ventilation system.

I recommend that, on a pre-owned home, you remove and clean/replace all of the vent covers.

Then, while the blower (fan) is running, spray some Febreze into the return-air vent. ‘House smells’ can build up in the ducts.

If you have a heat pump unit, find the drain, and make sure it is clear.


The Water

I am going to assume that if your new home is serviced by a well, you had the water tested BEFORE you purchased the house. If not, do it IMMEDIATELY!

If you are unfamiliar with the neighborhood (No friends/family living nearby), then I strongly suggest you talk to your neighbors before drinking water from the tap.

IF there is a filter on the refrigerator and/or kitchen sink, and YOU have installed new cartridges, then it should be OK to drink the water. Even water that comes from the local utility can have chemicals that you do not want (fluoride, calcium, etc).


The Flooring

This only pertains to homes that have carpeting in them. And I mean carpeting anywhere in the house/ porch, or deck.

If you purchased a home that is brand new, a thorough vacuuming will suffice.

If it’s a pre-owned home, you should strongly consider replacing (all) the carpeting. You do not know if previous owners had animals (or were they smokers?). Fleas would be the least of your concerns if you are bringing in a pet and/or infant. There are some illnesses that can live for a long time. Without getting too graphic, are you willing to gamble the health of your child/pet that the carpeting has not been the recipient if any kind of bodily fluid? Babies ‘spit-up’, cat’s hair ball, to name a few.

BTW, wood/laminate flooring can harbor things in the cracks between the boards (**Google this to see if it is a health issue**).

Some laminate flooring is made with compounds derived from formaldehyde which can release fumes that are detrimental to air quality. (http://www.ehow.com/about_6747861_laminate-wood-flooring-toxic_.html)


Misc.

There are also many other things that should be cleaned.

All interior door knobs/levers (including cabinet knobs/handles) should be disinfected, as well as the trim around the door/drawer.

This goes for brand new homes also. Do you know the health status of every person who worked on your home? Were there Realtors with other prospective buyers?

Did you buy a pre-owned home with existing furniture? Furniture should be treated the same as flooring. How safe is it? Have there been smokers/ pets/illness that could have come in contact with the furniture?


List of items that would be useful.

    • Rubber gloves (You don’t need strange bacteria under your fingernails, or in an open cut)


    • Dust masks ( You do not want to start with a sinus infection, in your new home)


    • Safety goggles (I recommend goggles. Stuff can splash around glasses)


    • Broom and mop (Throw them away when finished. Buy new ones. The mop, especially, will be near impossible to clean all of the germs from it)


    • Two buckets and a lot of rags (Throw the used rags away. The buckets can be cleaned. I recommend rags because you can scrub hard without having them fall apart)


    • Cleaning products (disinfectant/degreaser/bleach/etc)


    • Cheap, but new vacuum cleaner (If this is an existing home,you can toss it when you are done if necessary)


    • Anything else you can think of. My list is certainly not all inclusive. Everyone has their own ideas of ‘clean’. By all means, add to this list as fits your particular situation.


Final note:
Make sure you have plenty of gloves, masks, and goggles/glasses for everyone (extra gloves in case you need a second/third pair).

Do not discount the value of these safety items (masks/goggles/glasses). One errant ‘splash’ could cause a life-changing injury. This whole blog is about making your home a happy place.
These are some of the things that should be worked out before you spend your first night in your new home. If you think ahead, you can be ready for this before you sit down for the ‘closing’ and not waste a single night away from your new home.

If you have already bought a house, go back and check that you covered all these items. While some are not necessarily a ‘first night’ issue, you should not put them off, and take the chance of forgetting.

In short, there are many things that really should be cleaned/replaced before being used.


My Next Article:

How do I change the locks on my doors?

I will be going over the different kinds/brands of locks, as well as installation.

I Just Bought a House. Is it Safe?

I Just Bought a House. Is it Safe? (Part One)

 I recently overheard someone say,” I just bought a house. Is it safe?”.

This is also for those you who are planning ahead. You are still in the ‘looking’ stage, and wanting to know what you are going to need after you find your ‘dream’ house.

Usually, the first things new owners do is unpack and get ready for a house-warming party. While these are important things to get done, they should fall a little farther down the list of importance. First, you need to make sure that you, your family, pets, guests, and belongings are safe and secure.

That is what we are going to discuss in this two-part series… is my  house safe?                                                                                                                                               The first thing to think about is

Make My House Secure!

There are different kinds of safety that should be addressed before I spend my first night in my new home. This post will deal with the secure type of safety.

To start on my quest for security (peace of mind), I have to ask…

Who has access to MY home? Do they have any incentive to make my house secure?

Well, the FIRST thing I do is make it my house. I need to change ALL of the locks that are on ‘entry’ doors. An entry door is any door that opens into the house. This includes any door into the garage (other than the overhead garage door. We will discuss this later), as well as any door into the house from the garage. The reason I need to change these is obvious, but I will go into detail with some of the reasons most people may not have thought about.

If this were an existing home, I would have no idea who all has a key. In fact, the previous owners may not even know. If they bought it ‘previously-owned’, they may not have changed the locks. But even if they changed them (or were the original owners), they only had to loan/give a key out ONE time (workman, neighbor, relative), and in 10 minutes (at your neighborhood Lowes, Ace, etc) a duplicate can be made.

If this were a brand new home, the general contractor and heaven only knows how many sub-contractors may have keys. I have no idea who all needed access during construction. I have to imagine that most contractors/sub-contractors are very honest people, but they are people just like in all other walks of life.

BTW, often, a listing Realtor gets a key. This part is a little scary, so you may want to close your eyes. As an employee of a big-box store (hardware/tools), I have personally made 60 (SIXTY!) copies of a key, for a Realtor. They had an expensive home that they wanted to ‘push’ and thought that if every agent, in every office, had a key, the home would sell faster. SIXTY KEYS! Can you vouch for the integrity of every single person who has a key to your house? For that matter, can you be sure that they won’t lose it or have it stolen? I know that I can’t, so I can’t trust the existing locks to make my house secure.

ALL entry doors must have a knob/lever/handleset AND a deadbolt. The deadbolt is very important. The deadbolt is what keeps my door secure… not the lock in the knob/lever/handset.


I said earlier that the door from inside the garage to inside the house must be treated the same as any other entry door. The reason is that my garage is one of the most vulnerable entry points. Did I get ALL of the remotes? Also, thieves use garage door openers. They drive through neighborhoods pressing the button, changing the code, and pressing again. When a door opens, they can write the code and address so they can come back at a more opportune time. The safest way to go is to have a garage door opener that has ‘rolling-code technology’. That means every time I use the remote, it changes the code.

I will cover ‘other’ entry points in a later post, but doors are the first line of security that needs to be fixed. I MUST make my house secure!

The next post in this series is:

I Just Bought a House. Is it Safe? (Part Two)

Before You Buy a House: Top 5 Things

People often ask, “What Do You Look For Before You Buy a House?”.

Those who do not ask (or seek the answer to) that question, are going to buy a house relying on sheer luck.

In this article, I will give you the top 5 places to start your journey, so you will be more likely to know what to look for before you buy a house.

Add to the list as it fits your situation.

#1 Check Out the Neighbors

Drive throughout the neighborhood before you buy a house. I cannot emphasize this enough!

It is important for you to drive through during a workday, weekend day, and the night of the same days.

Is this the neighborhood you are comfortable with?

Are there too few/ too many children? Before you purchase a house, you will want to know that you and the existing neighborhood are a good fit.

Do the homes and yards look like what you expect yours to look like?

How heavy is the traffic in front of this house on a workday/evening/weekend day/evening?

Look at the space between the houses.  You have to decide whether you like being close to your neighbors or you wish to have more privacy.

Also keep in mind that someday you may wish to add a pool/deck/extra room/shed and have need of enough space to get a big truck into the backyard.

When you drive through the neighborhood, see if there is more than one way to get to a main road. One-way in or out could mean a bottleneck during rush hours (morning and night), as well as issues during an emergency or road work.

#2 Don’t Get Shocked or Drowned

Check the electrical and plumbing completely before you buy a house. This is another one of those ICETEA issues  * I Cannot Emphasize This Enough (A)*.

Flush every toilet, turn on every light and faucet (including any outside).

You might want to run the tub/shower, sink, and flush the bathroom toilet, all at the same time. Be aware of any faucets that run slower than the others? The same goes for sink/shower/tub drains. Plumbing issues can get very expensive.

Check all outlets (top and bottom).

Take note of any switches that do not seem to do anything.

Electrical problems are not only expensive, but can be a safety issue.

Check the heating and cooling components, regardless of the time of year. You do not want to wait 3-4 months to find that the heat/cooling does not work.

#3 Check Out the Highs and Lows

Check out the attic/basement.

In the attic, check the underside of the roof for signs of leaks and/or damage.

Is there any insulation, and if so, is it adequate and in good condition?

If the house has a basement, check for adequate lighting and ventilation.

Look for any signs of water seepage. New walls/baseboards/flooring in a basement could be a warning. Stains on the underside of the roof could be an indication of patching.

Is the air fresh, or is there a musty/mildew smell?

Be aware of how convenient the access is to the attic/basement.

Make sure the roof (shingle/tile/etc) looks complete and uniform.

#4  Space to Live and Grow

Look closely at the yard (front, sides, and back) before you buy a house. ICETEA

What you see is what you get. Make sure there is adequate yard area for the vision you have of your yard.

You will have little problem moving/removing bushes/flowers that are taking up needed space, but if a tree is where you envision a Bar-B-Que deck, you will need to re-think your options/plans.

In most communities, it is expensive/impossible to remove a tree.

If there is a noticeable ground slope, make sure it slopes away from the house.

See if you can tell where the property lines are.

“Fences make good neighbors” is an old saying, but very true. It would be nice if the house has a fence separating it from its neighbors . It can always be removed/modified later, but at the very least, it will establish the true property lines.

#5  Open Door Policy

Check all windows and doors

Open and close all the windows to make sure they slide easily, and seal tight.

Open and close all the doors. Make sure the locks work properly on all of the entry doors. There should be no jiggle when the door is closed. Also, you should not see any daylight around the edges of the door.

Here is your ‘Before You Buy a House’ list of tools.

1. Small, powerful flashlight (for the attic/basement/closet/etc).

2. Nightlight or volt meter (to check outlets).

3. Telescoping mirror (check behind stove/refrigerator/etc).

These are things that you should do to satisfy your basic concerns before you buy a house, but when you get serious enough to make an offer, you should hire a licensed home inspector.

A home is an expensive investment. The cost of an expert opinion is insignificant in comparison.  ICETEA.

After buying your home, here’s a tip:

Take pictures of ALL rooms including floors, ceilings, walls, and fixtures (sink. Tub/shower, etc). Taking pictures (from every angle) of the outside of the house will also be helpful. Be sure to include pictures of the yard (front, sides, and back) from the house and from the property lines. It wouldn’t hurt to also take pictures looking down each property line. There should be flags/stakes to help. Looking at these pictures can help give you ideas of future possibilities.


My next article:

I Just Bought a House. Is it Safe?